
Blowing bubbles in freezing weather: how to make frozen bubbles outside
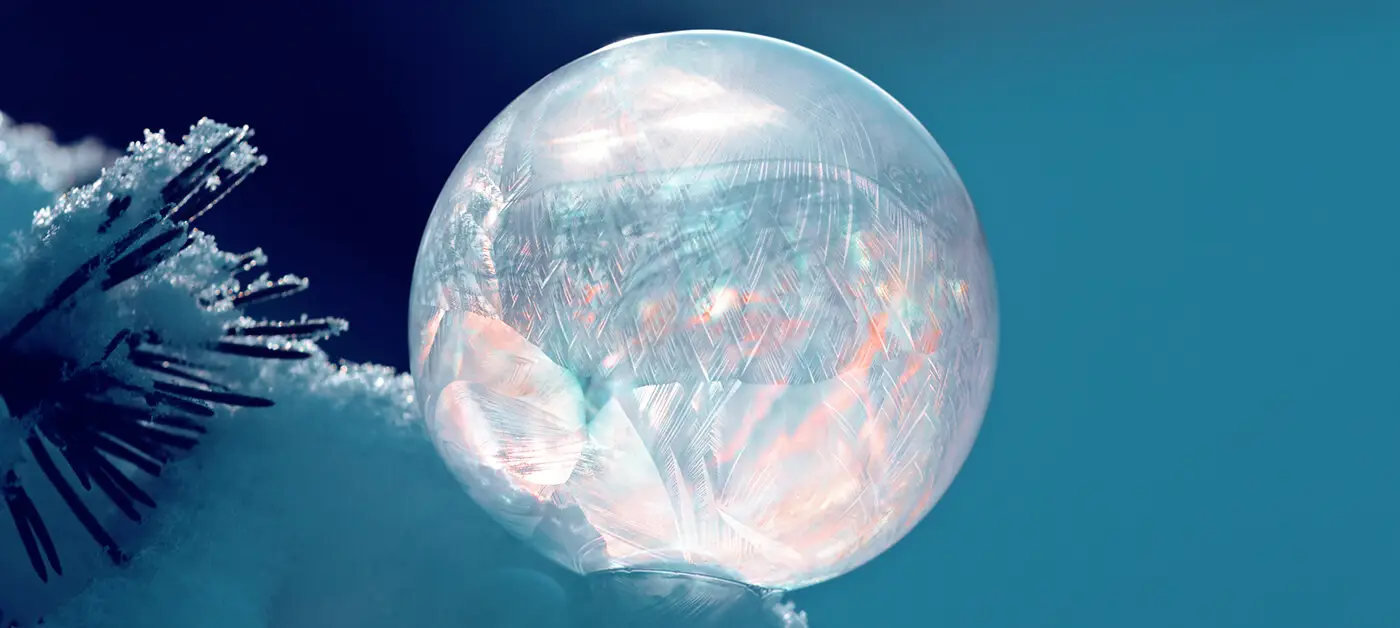
What can you do in winter before the snow truly sets in? Soap bubbles, of course! They’re a wonderful way to entertain children and amaze adults alike. Watching soap bubbles crystallize in the cold is definitely one of those truly magical winter experiences.
The recipe for frozen bubbles
How can you make soap bubbles stronger and longer-lasting? Surprisingly, this is a question that artists and scientists have devoted considerable attention to. There are countless elaborate recipes, and some remain closely guarded secrets.
We have the best bubble solution for freezing bubbles. Our recipe produces bubbles that are strong and long-lasting enough to let you admire the crystallization process at low temperatures. It also has the advantage of using simple, non-toxic ingredients that are easy to find.
Ingredients
Here are the ingredients for our glycerin-enriched soap bubble solution, perfect for making bubbles that freeze:
- 4 cups warm water, preferably demineralized or distilled (tap water can be used, but the minerals in hard water weaken the bubbles)
- 1 cup concentrated liquid dish soap (such as Dawn)
- ½ to 1 cup corn syrup to make the bubbles more elastic
- 1 to 2 tablespoons icing sugar to help retain moisture and delay the bubbles from popping (optional)
Preparation
- If adding sugar, dissolve it first in a small amount of warm water to prevent lumps from forming.
- Gently mix all the ingredients to avoid creating foam.
- If foam forms on the surface, use a spoon to remove it (the foam will cause your bubbles to pop).
- For stronger bubbles, let the bubble solution rest in the refrigerator (ideally for 24 hours).
- Place your bubble-making accessories outdoors a few minutes ahead of time to let them cool down (a temperature difference creates thermal shock, which causes bubbles to pop).
- When you’re ready to begin, pour the bubble solution into a shallow tray with raised edges, wide enough to dip your bubble wand into.
Frozen bubbles without corn syrup
Replace the corn syrup with ⅓ to ½ cup of glycerin (available at pharmacies).
What’s the best dish soap for making bubbles?
Choose a quality dish soap such as Dawn or another concentrated equivalent, ideally one that contains amine oxide. Avoid eco-friendly or sensitive-skin formulas, as they tend to produce less foam.
What’s the recipe for making giant bubbles?
Dreaming of enormous bubbles? Add ¼ teaspoon of cornstarch or baking powder to the recipe.
What’s the best temperature for making bubbles in winter?
You now have the right recipe. All that’s left is to check the weather conditions, since both air temperature and humidity have been shown to play a major role. In fact, summer isn’t the ideal season for making bubbles, as the heat causes water to evaporate quickly, making the bubbles pop sooner.
Ideal conditions for making soap bubbles:
- temperatures below 0 °C (if you want to watch frost form on your creations, the temperature should be -5 °C or colder)
- a calm day with little to no wind (or choose a sheltered spot)
- relatively humid air, but no rain or wet snow
- indirect sunlight is best, although it looks beautiful on the ice crystals
How to make frozen bubbles outside
When the temperature drops low enough — below -5 °C — soap bubbles do more than just float: they transform into beautiful, frozen ice globes. At -15 °C, soap bubbles freeze quickly. At -25 °C, a sufficiently elastic, strong bubble (sheltered from the wind) freezes almost instantly.
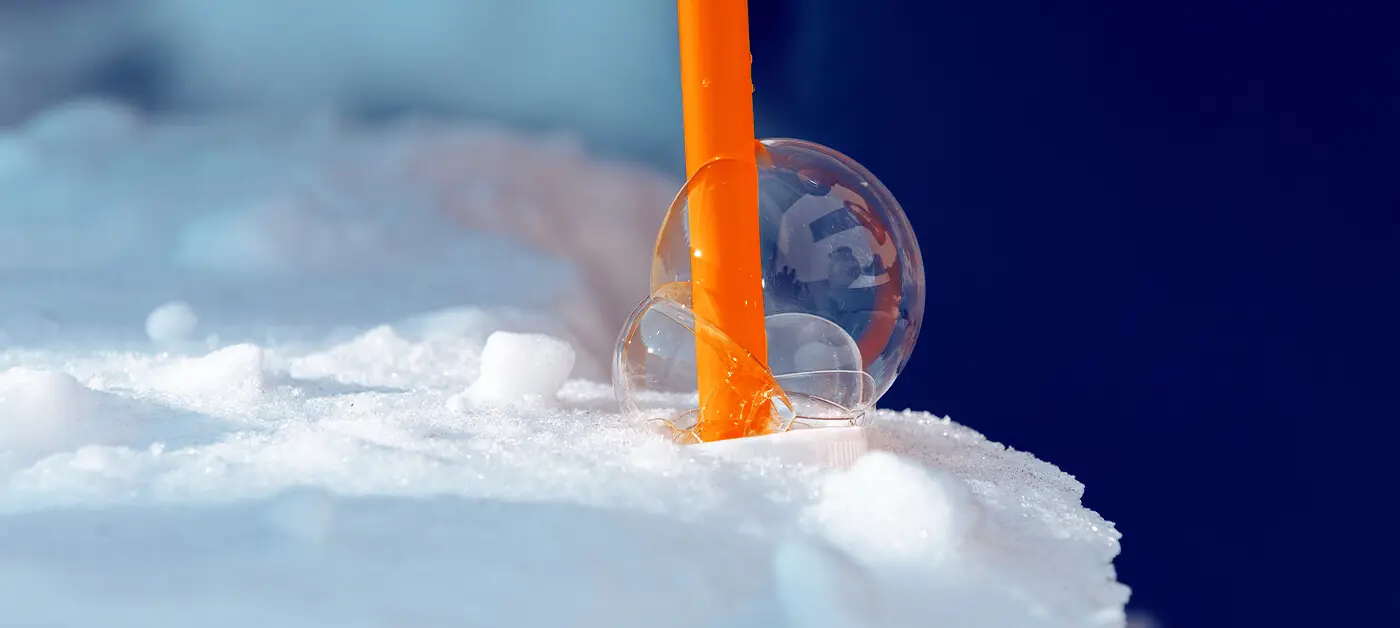
To create frozen globes, you can blow bubbles into the air or directly onto an icy surface. If you blow them into the air, try to get them to land gently on a textured surface, such as a mound of snow. When the bubble touches the icy surface, crystallization will quickly begin at its base. It may take a few tries, so don’t get discouraged!
Blowing bubbles directly onto a surface helps reduce the risk of popping. Simply pour a thin layer of bubble solution into a shallow tray or onto a flat surface that is at the same temperature as the outdoor air. Blow into the solution using a straw, or dip the neck of a bottle cut in half into the solution and squeeze to form bubbles.
How to explain the crystallization of bubbles in cold conditions?
A bubble forms when air becomes trapped inside a soapy film. This film consists of three extremely thin layers: two layers of soap with a layer of water between them.
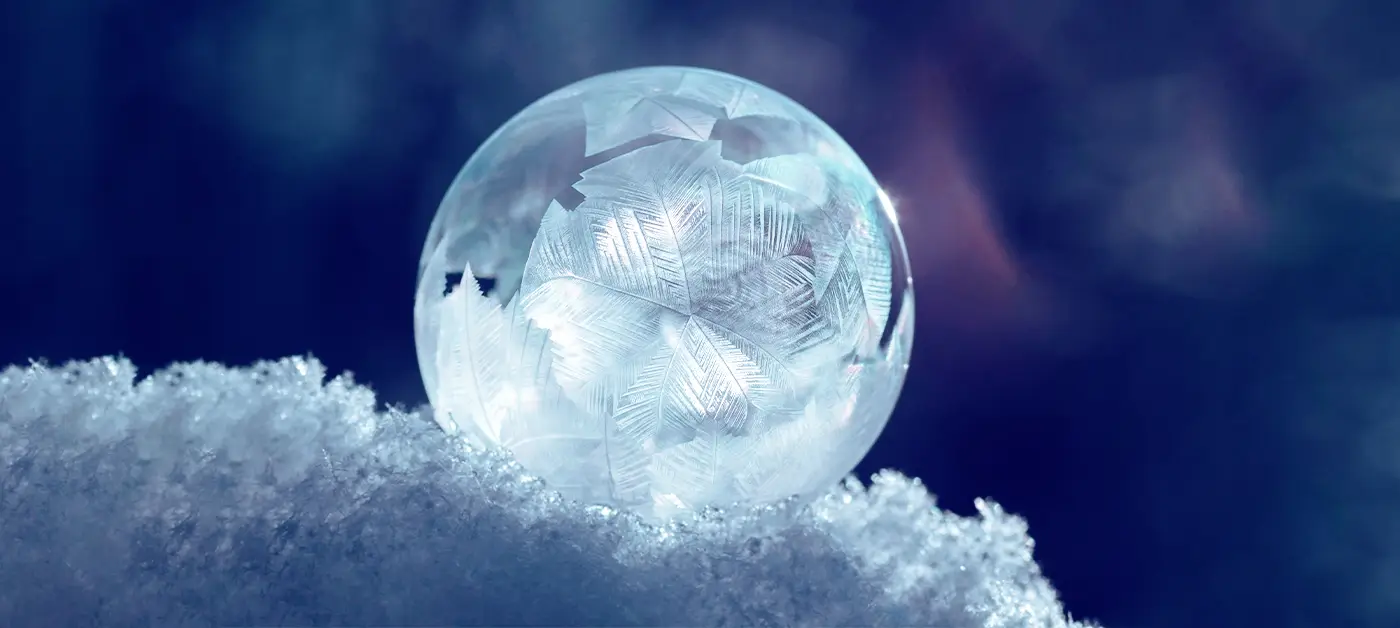
When the outdoor temperature is cold enough, the water begins to freeze. Because water has a higher freezing point than the soapy layers surrounding it, it freezes first. Ice crystals then begin to appear, starting at the coldest point, such as the snow or icy surface on which the bubble has landed.
The heat released during this process causes the liquid to move towards the surface. This creates the illusion that the ice crystals are dancing or floating inside the bubble, when in fact, they remain embedded in the icy shell as it forms. The crystals quickly multiply, spreading across the bubble and creating delicate, intricate feather-like patterns.
As they spread, however, the crystals create tiny cracks that allow the air trapped inside the bubble to gradually escape. Sooner or later, this causes a sudden drop in pressure that makes the bubble burst.
What can you use to make bubbles?
If you don’t have any bubble wands, certain kitchen utensils and everyday household items work just as well. The tools you choose will depend on the effect you’re looking for.
To create unique bubbles, you can use a straw, a funnel (the size of its opening will determine the size of the bubble) or the neck of a plastic water bottle with the bottom cut off. You can also make a circular wand in any size or shape you like (heart, triangle, star) using pipe cleaners. Leave a straight section to serve as the handle.
To create a swarm of bubbles, use a slotted spoon (the kind used for pasta or to remove poached food from boiling water). A kitchen skimmer, on the other hand, is perfect for producing a multitude of tiny bubbles.
How to make huge bubbles?
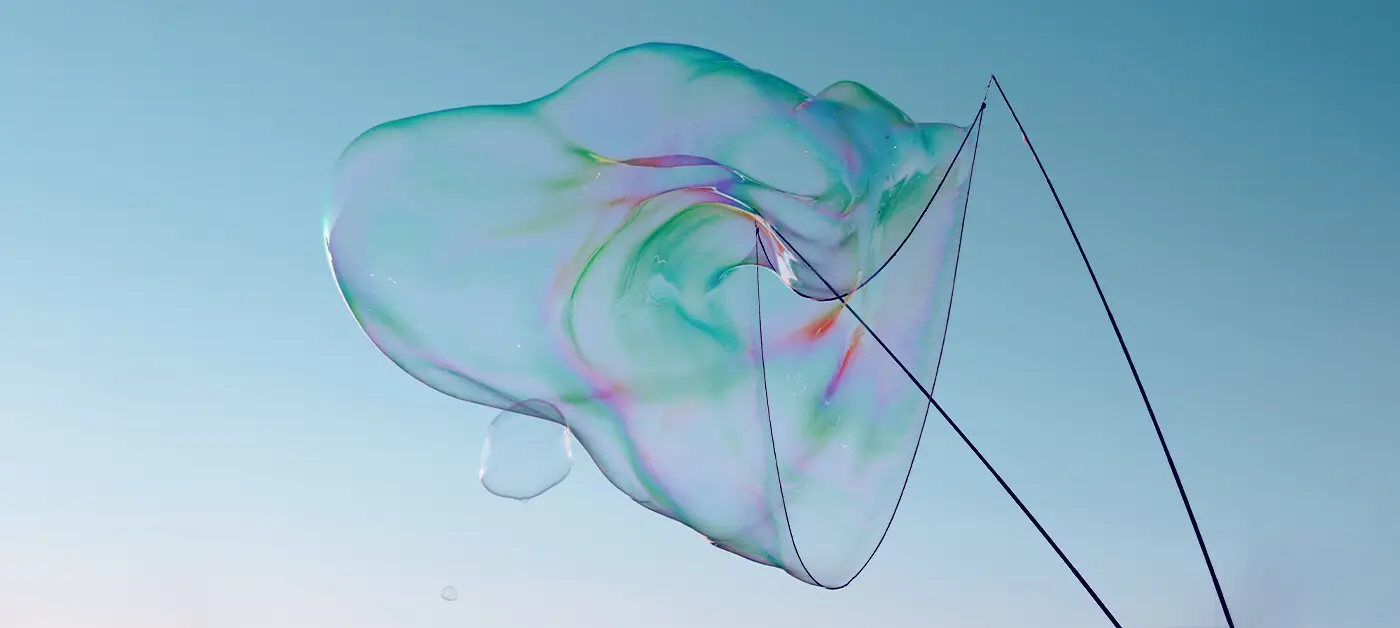
To make giant bubbles, you can easily create a bubble wand using a piece of string and two sticks arranged in an upside-down V shape.
Materials needed:
- two long wooden or plastic sticks (plant stakes work perfectly!)
- two pieces of string, one twice as long as the other (choose wool or cotton over synthetic fibres; natural fibres absorb more of the solution needed to form large bubbles)
- a small nut or ring to add weight and keep the strings from tangling (optional)
How to make a giant bubbles wand
- Cut the first piece of string (for example, 50 cm long). It will form the fixed top section of the wand. Keep in mind that the length of the strings will directly affect the size of the bubbles.
- Cut the second piece of string so that it is twice as long as the first (if the first piece is 50 cm long, this one should be 1 m). It will form the movable side, or the side of the “V”, that will give the wand its triangular shape.
- Attach the strings to the sticks: tie both ends of the shorter string to the top of each stick, and both ends of the longer string just below it, so that the strings form a triangle or a flexible diamond shape when the sticks are spread apart. If desired, thread a nut or ring onto the longer string to weigh it down and keep it from catching on the shorter string.
How to blow really big bubbles
- Pour the bubble solution into a large, shallow container.
- Dip the strings and sticks into the bubble solution.
- Lift them out while holding the sticks close together.
- Stepping backwards, gradually spread the sticks apart (forming a “V”) to create the soap film. Depending on the weather conditions, you can also let the wind inflate the bubble.
- Once the bubble reaches the desired size, slowly bring the sticks back together to close the bubble and release it.