

How to build an ice rink outside in winter
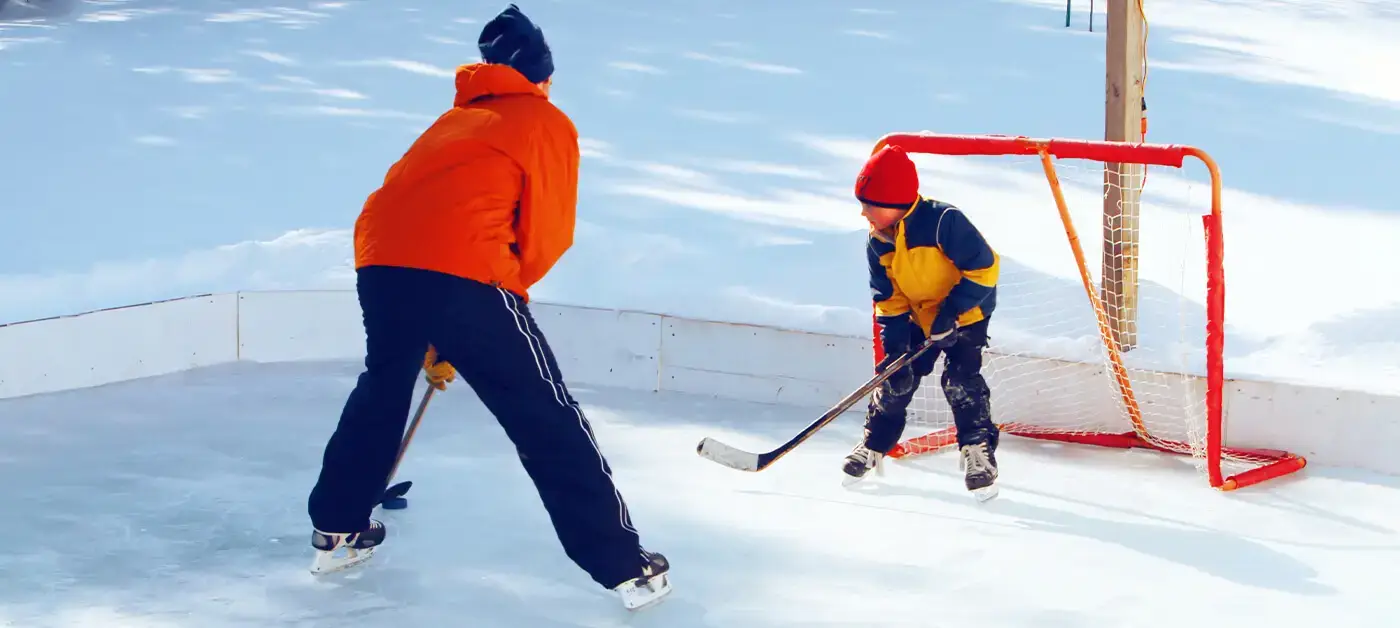
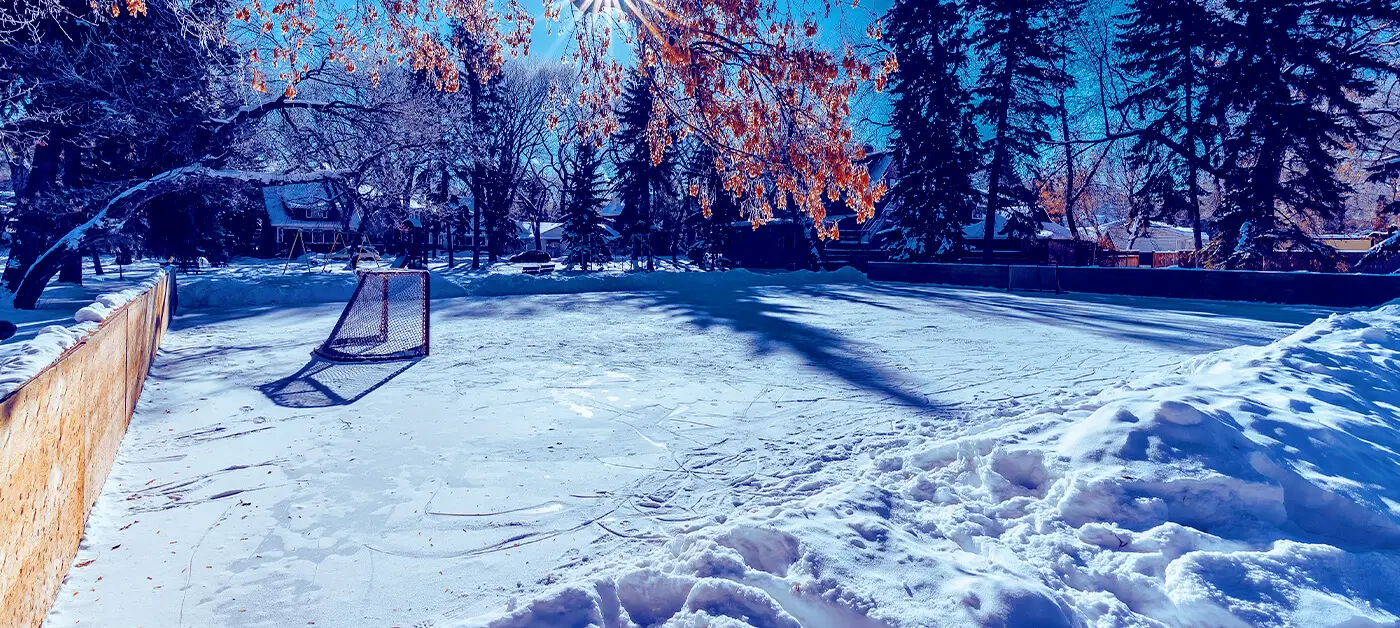
Nothing says winter quite like the sound of skate blades gliding across the ice in your own backyard. Building an outdoor rink at home is a dream for many. While it may seem like a lot of work at first, it’s an achievable, fun project that brings families and neighbours together.
With a few tips on how to build and maintain your rink, the fun can last for weeks… as long as Mother Nature cooperates!
Can I build an ice rink in my backyard?
Before getting started, you’ll need to choose a location. If you live in the city or suburbs, or if your property is on a slope, you may have limited options when it comes to choosing a location for your rink.
If, on the other hand, you have more than one option, here are a few things to consider when choosing the location for your backyard rink.
- Choose the flattest surface possible: the flatter the ground, the less water and structural support you’ll need!
- Stay close to an outdoor faucet: make sure your garden hose can reach the rink.
- Make sure the area is well lit. Remember, it gets dark early in winter, so good lighting is essential!
- Consider sun exposure: a partially shaded location will help keep the ice from melting as quickly, meaning less work to smooth out uneven patches and maintain a nice, smooth surface.
- Leave some space between the rink and your house: at the end of the season, the water needs to drain away without posing a risk to your foundation.
What materials do you need to build a backyard ice rink?
- Wooden boards for the perimeter (2 × 8 or 2 × 10 lumber, depending on the slope).
- Stakes to anchor the frame.
- Exterior screws rated for freezing temperatures and moisture.
- A white polyethylene liner (at least 6 to 8 mil thick).
- An all-season garden hose with a nozzle that produces a fine shower spray.
- A level (laser or water level) and a chalk line.
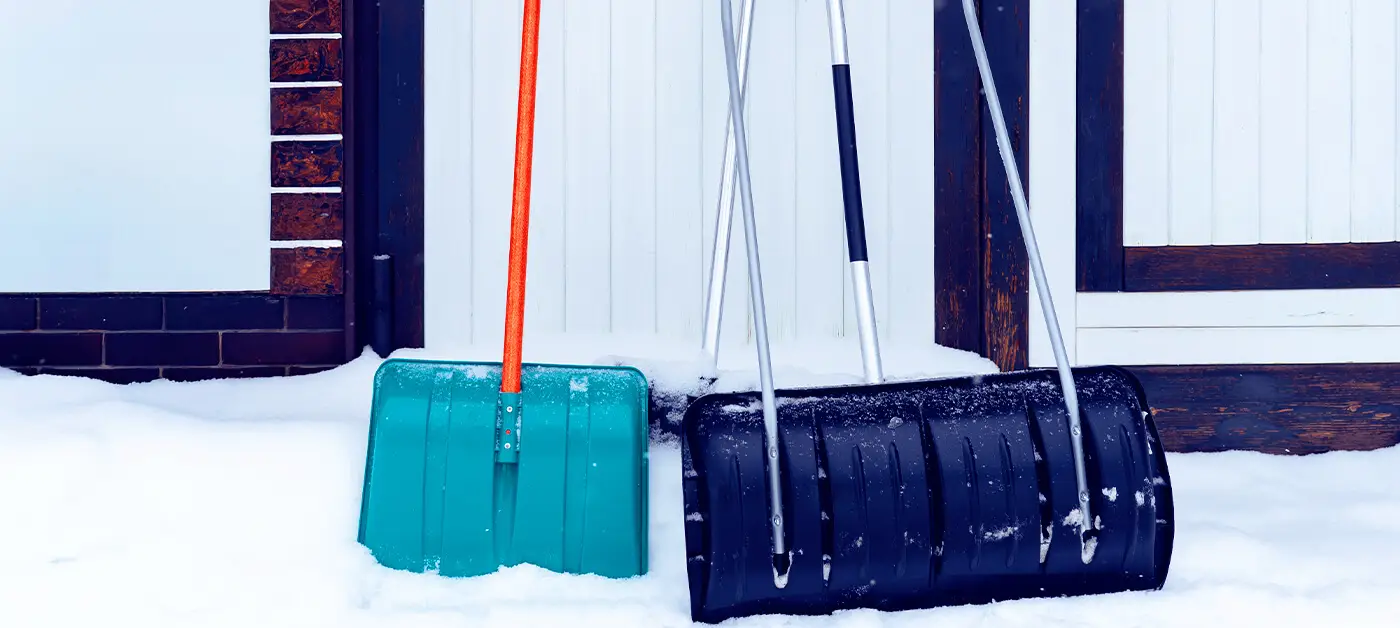
- A shovel, an ice scraper, a snow pusher and a broom (to serve as your Zamboni).
- Optional (if you want to add convenient boards for hockey): 4 × 8 ft spruce plywood sheets.
- Ice skates and helmets for everyone, especially children!
Alaskan tip: A white liner reflects sunlight, helping keep the ice colder and more consistent. Avoid dark-coloured liners.
What size should a backyard ice rink be?
A 6 × 10 m (20 × 33 ft) rink is a good compromise: small enough to fit in a backyard, yet large enough for a small group to have fun.
The height of the boards will depend on how much of a slope you need to compensate for. Aim for 2 to 3 cm (¾ to 1¼ in.) of ice at the highest point and 8 to 12 cm (3 to 5 in.) at the lowest point.
How to build an ice rink?
- Mark out the rectangle using a chalk line.
- Screw the boards together to form the perimeter.
- Reinforce the frame by driving stakes into the ground on the outside, every 1.5 m (5 ft).
- Check the level with a laser level and adjust the board height as needed.
- Remove the snow down to the frozen ground and tamp it down lightly.
Pro tip: If the ground isn’t completely frozen, wait. Soft ground can cause leaks and create an uneven base.
How to build a solid base for your backyard ice rink
Lay out the liner on a calm, windless day. Unfold it over clean snow or directly on the frozen ground. Make sure you have an extra 30 to 50 cm (12 to 20 in.) of liner around the edges so you can fold it over the outside of the wooden frame. Avoid puncturing the liner along the sides. Secure it to the frame using clamps or wooden battens screwed to the outside. Finally, smooth out the wrinkles as much as possible. It doesn’t have to be perfect!
What temperature is needed for a backyard ice rink?
Don’t rush to build your rink after the first cold nights. Instead, wait for 3 to 5 consecutive nights with temperatures of -10 °C or lower. There’s no guarantee that the days that follow will stay cold enough, but unless there’s a major warm spell, you should have a good base to start with!
How to flood a backyard ice rink?
For the initial fill, choose a very cold night, ideally with temperatures between -12 °C and -18 °C. Apply the water slowly and continuously until it reaches the desired depth at the lowest point. Allow 24 to 48 hours for the water to freeze.
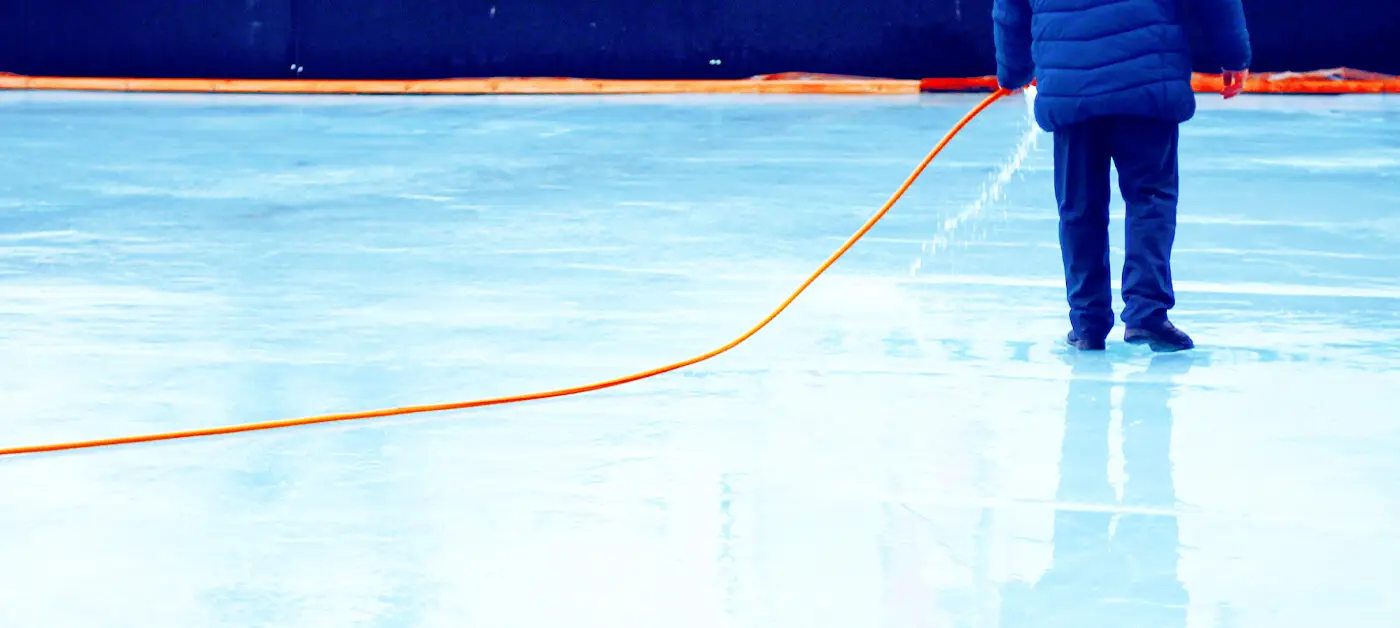
Reinforce the ice on another cold day. Using the finest spray setting on your hose nozzle (mist or fine spray), apply the water gently to form a thin layer of ice no more than 1 mm thick.
Repeat the process to build up 3 to 5 additional thin layers of ice. Space out each application by 60 to 90 minutes to allow the water to freeze completely before applying the next layer.
Alaskan tip: Wait until the ice is at least 7 to 10 cm (3 to 4 in.) thick before skating on it. Test it with a screwdriver: when you push it into the ice, you should feel firm resistance. Visually, the surface of your rink should appear opaque.
How to maintain a backyard ice rink?
To keep your ice smooth and in good condition, regular maintenance is essential. Here’s how to deal with different weather conditions that can affect the quality of your rink.
Good to know: The friction between skate blades and the ice allows skaters to glide across the surface. This friction generates heat, which melts the ice. The thin film of water that forms between the skate blades and the ice is what allows skaters to reach speeds of over 60 km/h.
What to do after a snowfall?
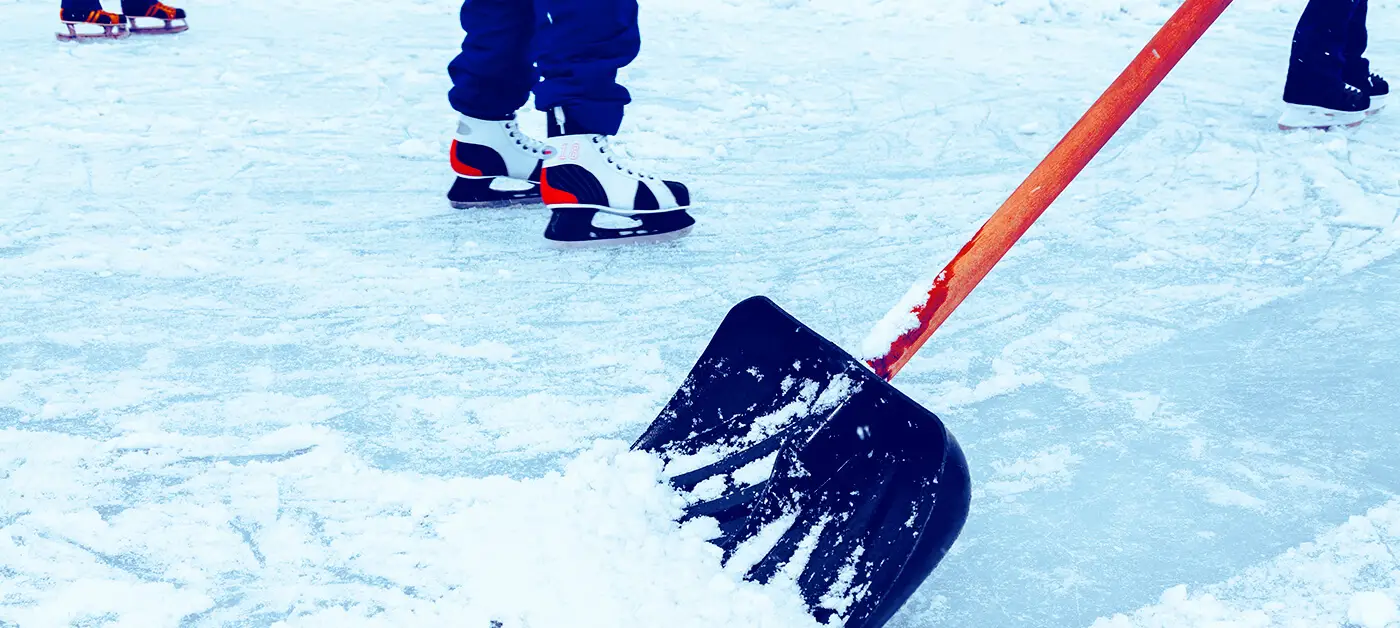
Snow acts as an insulator, which can cause the ice underneath to melt. It’s therefore essential to clear the rink after every snowfall to keep the ice surface smooth.
How do I make my ice rink surface smooth again?
Had to be away for a while, or did the weather throw you a curveball? All is not lost! If there’s still plenty of winter left, be patient and resurface your rink. On a cold evening (at -8 °C or below), apply a fine mist of water over the ice. Let it freeze, then repeat the process, using the same method as when you first built your rink.
It’s best to apply several thin layers rather than one thick layer.
How to smooth out your backyard ice rink?
Zamboni-style ice resurfacers use hot water to melt the top layer of ice, allowing it to refreeze into a more even surface. Using warm water for the final layer can help you achieve a perfectly smooth, mirror-like finish with minimal effort.
The hotter the water, the smoother the surface. However, be sure to do this in very cold weather, or the layers of ice underneath may soften.
How to repair cracks in your backyard ice rink?
Fill any cracks or uneven spots with wet snow (slush), then apply a fine mist of water to freeze it in place and create a smooth ice surface.
Tip: Check the edges regularly and make repairs as needed.
What to do after each skating session?
After each skating session, take a few minutes to sweep the ice. This will prevent snow and ice shavings from bonding to the surface and forming bumps when they freeze.
It’s a bit like using an ice melter: it’s recommended to remove the snow and ice while they’re still loose and before they have a chance to freeze solid.
How to keep your backyard ice rink frozen during a mild spell?
Milder weather in the forecast, but winter isn’t over yet? February sunshine can wreak havoc on your backyard rink. Here’s how to save it.
On mild, sunny days, cover your rink with a lightweight white tarp. Above all, avoid skating or walking on soft ice, as this can create dips and uneven spots.
Once the cold weather returns, scrape off any bumps, fill holes and low spots with slush, then apply 2 or 3 thin layers of water using a fine mist. Allow each layer to freeze before applying the next.

5 safety tips from Alaskan
- Helmets are recommended for everyone!
- Light your rink if you plan to skate in the evening. Never use lights or extension cords that aren’t rated for outdoor use.
- Keep salt and ice melters away from your rink. They can damage the ice and puncture the liner.
- Close your rink temporarily during a thaw. If the ice becomes soft, white or spongy, it’s no longer safe to skate on.
- At the end of the season, take care to manage runoff as the ice melts. Make sure water drains away from your foundation, where it could cause damage, and from driveways and walkways, where it could refreeze overnight and create a slipping hazard. Apply an ice melter if needed.
Don’t forget to let your insurance company know that you have a backyard rink. That way, you’ll be covered if anything goes wrong.
Quick fixes and troubleshooting tips
How to fix a bumpy backyard ice rink?
The cause: Too much water was added at once, or people skated on the rink in mild weather.
The fix: Scrape down the high spots and fill any holes with snow before applying a fine mist of water.
How to prevent the ice from cracking?
The cause: Ice tends to crack during periods of very cold, dry weather.
The fix: Apply a very fine mist of water over the area to fill the crack and help seal it.
Why is water draining away when I flood my ice rink?
The cause: There may be a wrinkle in the liner, or the liner may be punctured.
The fix: If it’s a wrinkle, applying water in cold weather should be enough to seal it. If the liner is punctured and you can access the damaged area, you can patch it with polyethylene (PE) tape rated for use in extreme cold.
Why is there water under my backyard ice rink?
The cause: You likely filled your rink too early in the season, before the ground had a chance to freeze completely.
The fix: Drill a hole at the lowest point inside the rink to allow the water to drain. Then, once temperatures are cold enough, apply water to reinforce the ice.
Building a backyard rink is a wonderful way to create lasting memories, such as a friendly game under the stars. Before long, it’s sure to become a favourite neighbourhood gathering spot. With regular maintenance and a few handy tips, you can keep the fun going all winter long!
