
Winter salt injury
Winter ice on walkways leads to slip and fall injuries. Consider that icy surfaces are the cause of thousands of human injuries each year. Common injuries include bruises, sprains or more serious injuries like broken bones or concussions.
Winter ice melting efforts are needed to prevent slips and falls. Ice melting salts are usually spread on municipal streets and sidewalks, as well as on your driveway, sidewalks and steps. The most common ice melter ingredient is sodium chloride (a coarse version of table salt). We know that these melters are required but they can take a toll on your lawn and ornamentals. You might see the plants turning brown and even dying back the following spring.
Let’s see what you can do to minimize any damage to your lawn and garden.
What does de-icing salt do in the landscape?
It affects lawns, perennials, trees and shrubs.
Is ice melt bad for soil?
What happens is that too much ice melting salt builds up in the soil, usually in areas next to streets, sidewalks and driveways. The soil’s structure there changes as the resulting saltiness increases compaction, which reduces the soil’s porosity, restricting air and water availability.

Is salting your driveway bad for the environment?
The salt also binds with water, which in turn makes the water unavailable to plant roots. So even if the soil is wet, the plant roots are unable to absorb the water. Also, the sodium in the soil keeps nutrients and microbes away from the roots, effectively starving them.
On top of that, numerous plants are injured by excessive sodium and chloride ion concentrations in their tissue. So, you can understand that too much ice melting salt on vegetation can be quite harmful.
Is ice melt harmful to plants?

Besides the soil damage, you can often see harm on evergreen needles and even deciduous plants the following spring. When passing cars splash through road slush, the salt-laden spray can land on shrubs and will cause them to dehydrate.
What are the symptoms of salt damage?
Salt damage on plants typically shows up in a few recognizable ways.
Leaf symptoms
- Marginal burn: brown, crispy edges on leaves (marginal necrosis), often with a sharp line between healthy and dead tissue.
- Tip burn: browning starts at the tip and progresses inwards, common on grasses and evergreens.
- Chlorosis: yellowing between veins, especially on new growth, due to disrupted nutrient uptake.
- Needle browning on conifers: outer needles bronze/brown while inner needles may remain greener.

Growth and vigour
- Wilting despite adequate soil moisture (osmotic stress makes water harder to absorb).
- Stunted growth, reduced shoot length, fewer or smaller leaves.
- Premature leaf drop, bud and flower drop, poor fruit set and reduced yield.
Soil and root signs
- Surface crusting or poor soil structure (dispersed clays from sodium).
- Roots appear short, stubby and browned at the tips, fewer fine feeder roots.
- If tested, soil indicates elevated soluble salts.
Pattern clues (helps confirm salt, not disease)
- Strongest damage on the side facing roads/driveways/walkways treated with de-icers.
- Splash or drift pattern: lower leaves/branches worst; shielded areas healthier.
- Winter/early spring peak after de-icing season; symptoms may lessen later with rain.
- Salt-tolerant species nearby look fine while sensitive species struggle.
How to reduce salt in plants?

1. Shovel and blow snow early and often
Best to get rid of the snow before it compacts and forms ice. Your neighbours might laugh but you end up using less ice melter. Learn how to use de-icing products effectively in this article.
2. Use less salt
Most people apply too much ice melting salt on their own sidewalks and driveways. You only need about a handful per square metre. Broadcast only on high-risk areas like steps and high traffic pathways. Keep the ice melter away from the edges to avoid using it near your lawn and plants.
3. Redirect snow piles: shovel away from the landscape
Remove melting snow and ice as soon as the melting action has loosened the ice. Do not pile salty slush on grass or near trees, shrubs or gardens.
4. Sweep away
Once the snow melts, the leftover salt granules should be swept off the driveway and sidewalks. These can be re-used at the next ice event.
5. Use barriers to protect your plants
You can shield shrubbery from salt spray by using burlap or winter wraps. Or create a spray barrier by installing a snow fence along the roadways. Sections of lawn along driveways and sidewalks can be saved from harm by using lawn protection covers. These must be put in place after freezing-up, so not too early. And they need to be removed first thing in the spring.

6. Consider taller borders along your driveway and sidewalks
Make sure that your lawn and shrub bed levels are higher than the sidewalks so that any runoff salty water is directed away. You can put a raised border made from interlock bricks, wood or plastic edging to create a physical barrier along the sidewalks and driveway, keeping the salty snow contained and away from the soil and vegetation..
7. Choose salt-tolerant plants
Whenever you are planning for lawn repairs, new hedges or shrubbery along sidewalks, strive for salt-tolerant grasses and plants.
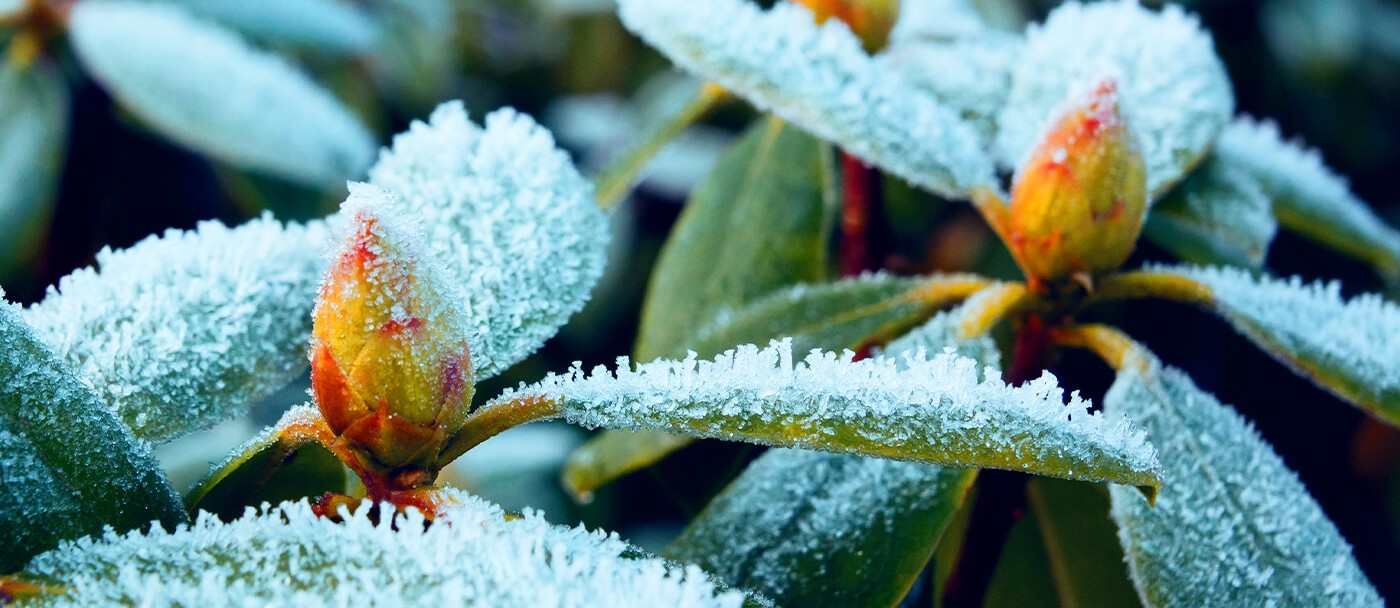
Salt-sensitive plants include: maples (especially sugar maple), dogwood, boxwood, yew, rhododendrons, strawberries, many lawn grasses.
Plants that are more tolerant to salt include: juniper, tamarisk, bayberry, rugosa rose, Kentucky bluegrass (moderate), tall fescue (better).
See link here.

How to flush salts out of soil?
Apply gypsum before and after winter along your sidewalks and driveway
Gypsum (calcium sulphate) displaces the sodium in the soil, which will be flushed out by rain or snowmelt. It keeps high levels of sodium from accumulating in the soil. It also improves soil structure by breaking up compacted soil. Gypsum helps lawns and plants recover from salt exposure.
Water thoroughly to wash off salt
Wait until the ground thaws in the spring to run water over the affected areas. Salt is mobile in the soil and will leach away from your plant roots with gentle flushing. Soak the area a few times to complete the flush.


